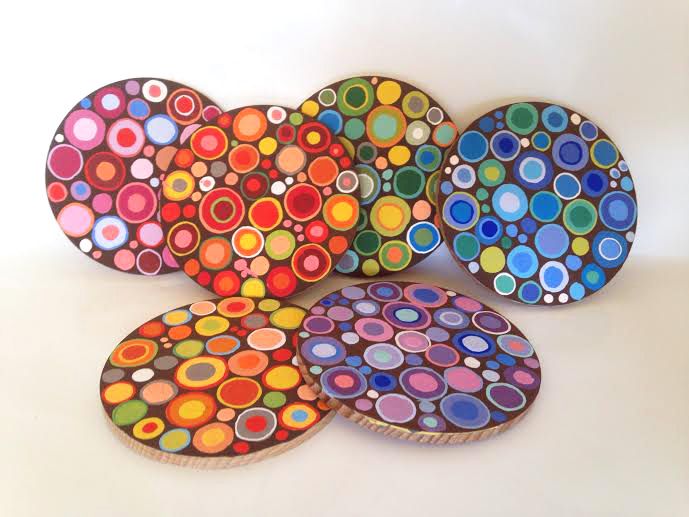

Adding a touch of warmth and personality to your home is easy with these DIY wooden coasters. This project is perfect for beginners and can be customized to fit your style!
Materials:
Wood: You can use scrap wood, plywood, or pre-cut coasters. We recommend a thickness of 1/4 inch for best results.
Sandpaper: Different grits (80, 120, 220) for sanding the wood.
Wood stain (optional): Choose your desired color and finish.
Polyurethane (optional): For a protective sealant.
Cork sheet (or felt pads): For the non-slip bottom.
Scissors or utility knife: For cutting cork sheet.
Measuring tape: For accurate measurements.
Pencil: For marking the wood.
Drill with a 1/4-inch drill bit: For creating holes for cork.
Wood glue: For attaching cork.
Clamps: For holding pieces together while glue dries.
Optional: Decorative elements like paint, stencils, or fabric for adding a unique touch.
Step 1: Prepare the Wood
1. Cut the wood: If you’re using a piece of wood, cut it into 4-inch square pieces (or your desired size).
2. Sand: Start with 80-grit sandpaper to smooth out rough edges. Progress to 120-grit for a finer finish, and finally 220-grit for a smooth, polished surface.
Step 2: Stain and Seal (Optional)
1. Stain: If desired, apply a wood stain according to the manufacturer's instructions. Let it dry completely.
2. Seal: For added protection and durability, apply a coat of polyurethane. Follow the manufacturer’s instructions for drying time.
Step 3: Create the Non-Slip Bottom
1. Measure and cut: Cut cork sheet into squares slightly smaller than your wood pieces. This will leave a small border of wood around the cork.
2. Drill holes: Using a drill bit, create small holes in the wood around the edges of the cork sheet (around 1/4 inch apart). These holes will help with glue adhesion.
Step 4: Attach the Cork
1. Apply glue: Apply wood glue to the back of the cork squares and around the holes in the wood.
2. Position the cork: Carefully place the cork squares onto the wood, ensuring it is centered.
3. Clamp: Use clamps to hold the cork in place while the glue dries.
Step 5: Add Decorative Touches (Optional)
1. Paint: If desired, paint your coasters using acrylic paints or other decorative paints.
2. Stencils: Use stencils to create patterns or designs on the coasters.
3. Fabric: Glue fabric squares onto the coasters for a unique and textured look.
Step 6: Let the Glue Dry
Leave the coasters clamped for several hours to allow the glue to dry completely.
Step 7: Enjoy Your DIY Wooden Coasters!
Now you have stylish and personalized coasters to protect your surfaces and add a unique touch to your home decor.
Tips:
Use a protective mask when sanding and working with wood.
Clean up any spills immediately.
Avoid exposing your coasters to extreme temperatures.
Get creative! There are endless possibilities for customizing your wooden coasters.
0 comments:
Post a Comment